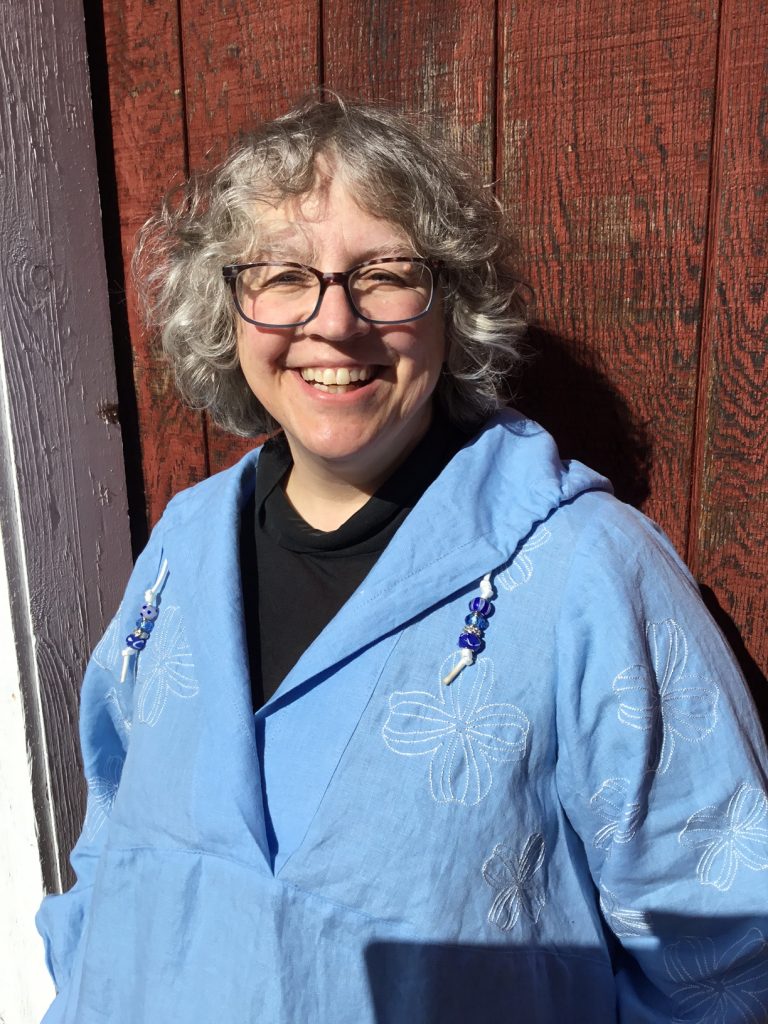
Looking to make a woven hoodie, I fell in love with the Jalie Pattern 2911 Shawl Collar and Pullover Hoodie pattern. There were just two problems. One, it did not accommodate my measurements, and two it was a pattern designed for knits. Undaunted, I studied the pattern pieces. I wanted a crossover front yoke, a soft generous sized lined hood with a draw string, large loose sleeves, and side vents with rounded faced hems. I wanted a good fit which allowed it be be layered over and under other garments. I envisioned wearing this over a bathing suit on the beach, or over a tee shirt or a turtle neck on a cool night, or perhaps layering a vest over it. Here is the process I used to draft my hoodie. This approach assumes you have a good fitting body pattern to start. I remove all seam allowances from my pattern pieces if they are included.
Starting with my traditional block, which featured a bust dart that went into the armscye, I moved the dart down to the side seam, and then swung it even lower to my waist. I will not describe the dart swing, as plenty of tutorials already exist. I extended the lower leg of the dart to gently curve up and over to the center front. I then drew a second line along the center front seam to the top leg of the dart. This created a front top and front bottom pieces. When the curves of front top and front bottom were joined, they resulted in a lovely shaped front.
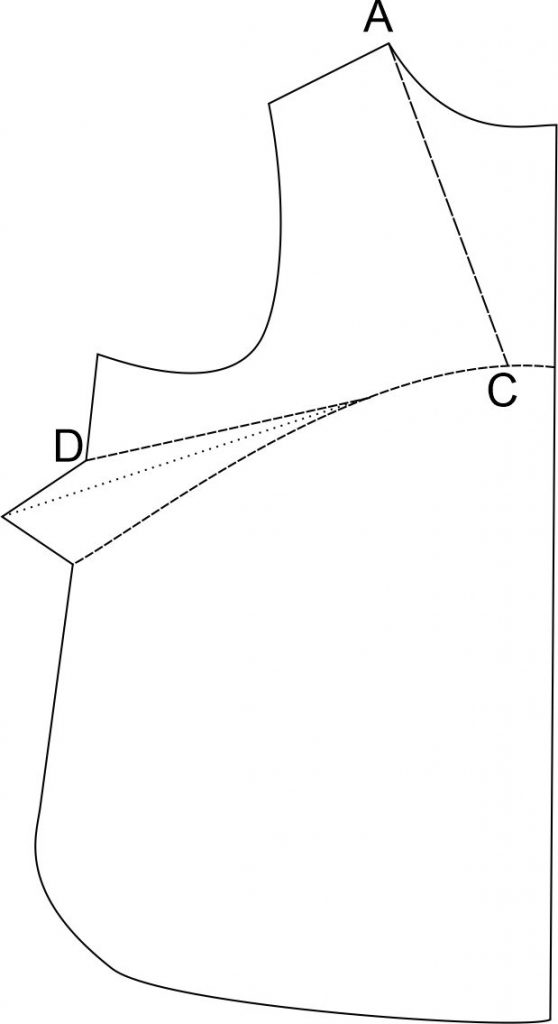
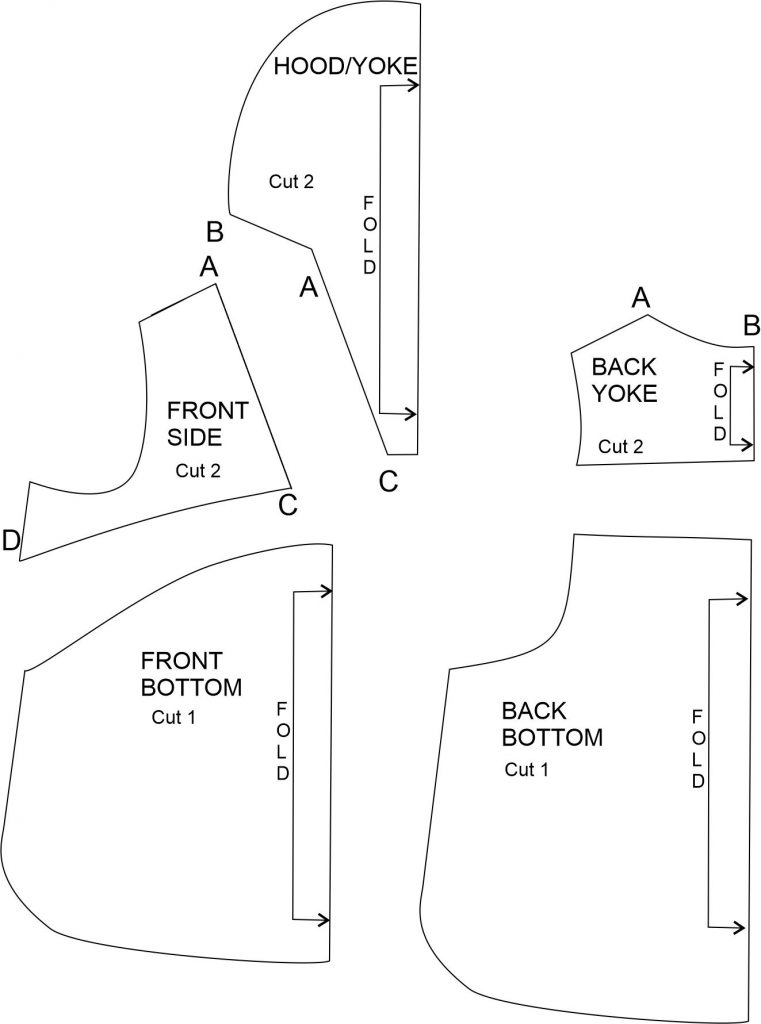
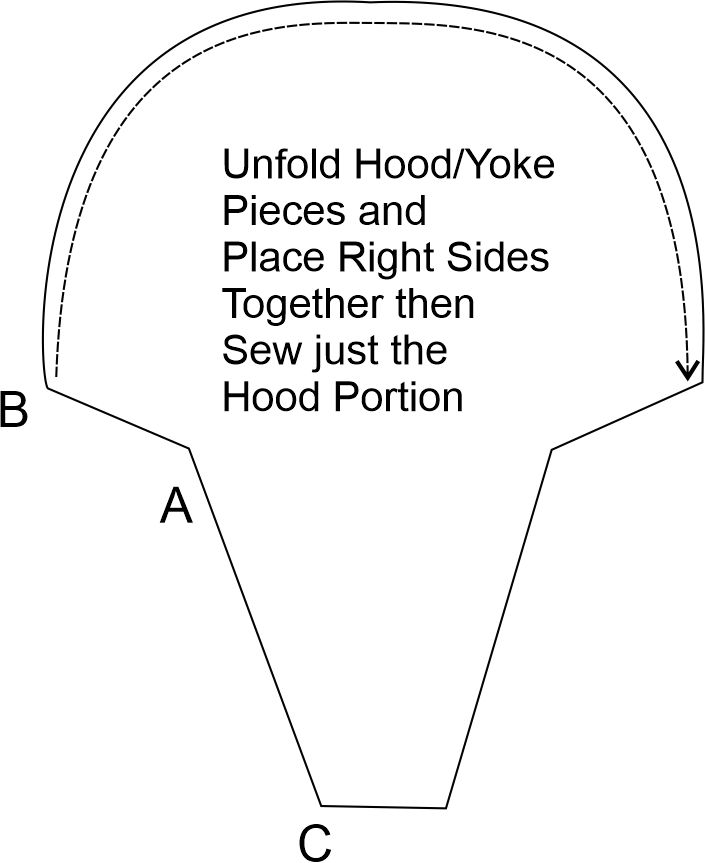
To tackle the hood , I studied the Jalie 2911 hood, which featured a lined hood from a piece cut on fold forming the hood and the crossover yoke. The hood requires cutting two of these pieces on the fold, with the folded edge forming the front edge of the hood and yoke. To start drafting the hood, I drew a line from 2″ in from the center along the front seam (C) to the top inside shoulder seam point (A). This resulted in a 4″ bottom on the yoke. The center front line formed the folded edge of hood/yoke. This was the starting shape of the bottom of yoke/hood piece. I traced the yoke shape onto new paper. To accommodate a crossover on the yoke piece, I added an inch and a half to the folded edge. This gives a generous 3″ overlap to front yokes. I drew a line out at an angle, making sure this was same length as half of back neck seam (A to B). I then completed the hood by drawing up and over to the folded line. Check the resulting shape of the hood and yoke to be sure you like the final lines. I made several muslins of the hood and yoke, testing the shape of the hood and the crossover on the yoke. I have included some drawings to help visualize the formation of the pattern pieces. Be sure to check seam lengths to be sure your pieces will fit together smoothly during construction. Also, do not forget to all in your seam allowances before cutting.
For years, I have struggled to draft sleeves for my sloper. My sleeves always appeared to be slightly tweaked, with subtle wrinkles that I could not get rid of. The sleeves were always a bit awkward to get on and off, and there was excess fabric pooling in my side chest area in front of the armscye. Although I have large biceps, my chest is average. I bought the Cashmerette’s Vernon Shirt pattern the moment I read “full bicep option”.
To address my need for a sleeve that accommodates my large biceps, I used the size 26, cup C armscye, and sleeve pattern, view A from Cashmerette’s Vernon shirt pattern. To do this I traced just the armscye from top front shoulder to under arm side seam point, being sure to include a grain line parallel with center front. This is just a partial trace. I then placed it on my sloper at top shoulder point, and keeping the grain lines parallel. I then marked the new armscye onto my sloper. I adjust the side seam to meet the new end of front armscye. Next, I repeat the process for the back. There is added complexity of the yoke. I pinned the back yoke, and back pattern pieces from Vernon shirt pattern together, before tracing the back armscye. The back of my sloper had a yoke, so I pinned my yoke and back piece together. I aligned the shoulder points, and kept the grain lines parallel. I drew the new armscye on my back sloper. I adjust the side seam to meet with back armscye. This may require cutting or adding pattern paper to your sloper pattern pieces. Always work with a copy, not your original sloper. Be sure to align the front and back side seams to make sure they are same length. It is important that this drafting is done without seam allowances. You must remove seam allowances from Vernon shirt pattern pieces, before tracing. Seam allowances must be added after all adjustments are made. It is work, but it resulted in a gorgeous looking and comfortable fitting sleeve. Once I completed this, I now have sleeves for my sloper that drape beautifully, fit comfortably, and can be the basis for many happy future hacks.
When drafting a pattern, you must also develop an assembly plan. Ordering the construction, finishing the internal seams, grading areas of bulk, and reinforcing any stress points are just a few things to keep in mind. I truly appreciate the many details that go into a well-developed pattern. While making muslin, I creating my assembly instructions.
For cutting, you cut two hoods on fold, two front side pieces, one front bottom piece on fold, one back bottom piece on fold, and two back yokes. I slid my back piece away from fold to allow for two 1 inch back pleats. From the Vernon Shirt pattern you cut two sleeves, two bias binding pieces for placket, and two cuffs.
The construction is straightforward. I pleat the back bottom, then sew both back yokes to back bottom. I sew the front side pieces to back yoke. Using burrito method I enclose the back yoke along the shoulder seams, and top stitch. The hood is two pieces on a fold. I unfold and sew the two hoods right sides together, along the back of neck to top of hood, and back to the opposite back of neck. I finished and graded the hood seam. I interfaced where the grommets to be placed for drawstring, and also at the point where the hood meets the shoulder seam. I then turned the hood, with wrong sides together resulting in a great lined hood with a crossover front yoke.
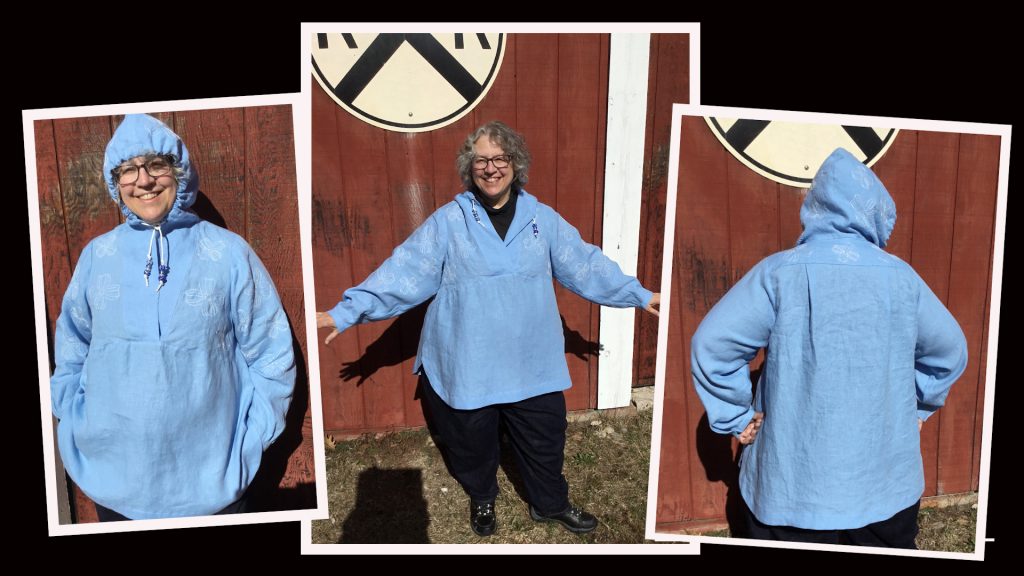
I installed a couple of 7 mm grommets, to allow for cinching the hood. I top stitched a channel for the drawstring along the folded edges of the hood. I sew one side of hood to the front side piece along the yoke, around the back neck, and on to opposite front side piece. The other layer of hood is pressed and sewn to enclose the yoke area, after seams are graded. I then attach the front bottom. At this point I follow the directions for the sleeve, View A from Cashmerette’s Vernon shirt to guide me through finishing and attaching the sleeve. The sleeves are sewn on first, then the sleeve seam and side seams are sewn and finished with a French seam. The narrow cuffs were then added according to Cashmerette’s Vernon instructions. I applied a sewn on hem facing for the bottom hem, which enhanced the drape. I did not include these instructions, but many tutorials exist for drafting a hem facing. I installed a size 14 fashion snap on each of the narrow cuffs, and an 8mm rivet above each side vent. I finished up by adding the drawstring using parachute cord and some pretty beads.
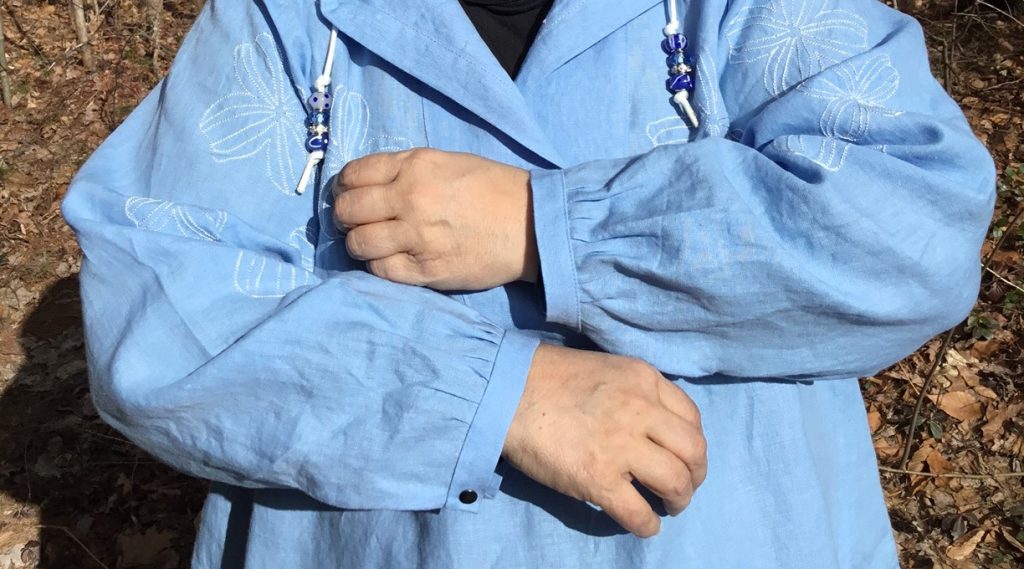
It was a very straight forward project after establishing the pattern and assembly instructions. Again, I must acknowledge Jalie Pattern 2911 Shawl Collar and Pullover Hoodie and Cashmerette’s Vernon shirt which inspired and aided me in developing the pattern for this garment. I could not help but smile while I was being photographed in this garment. I know it is one garment I will be wearing throughout spring, summer, and fall for years to come.